This document outlines the process for setting up an HP Go Downloadable eSIM.
Setup Instructions
To install your eSIM on Windows, please follow the steps below:
1. Activate the downloadable eSIM in the HP Go Management Console.
2. Connect your PC to a Wi-Fi network as it will need to download the configured eSIM.
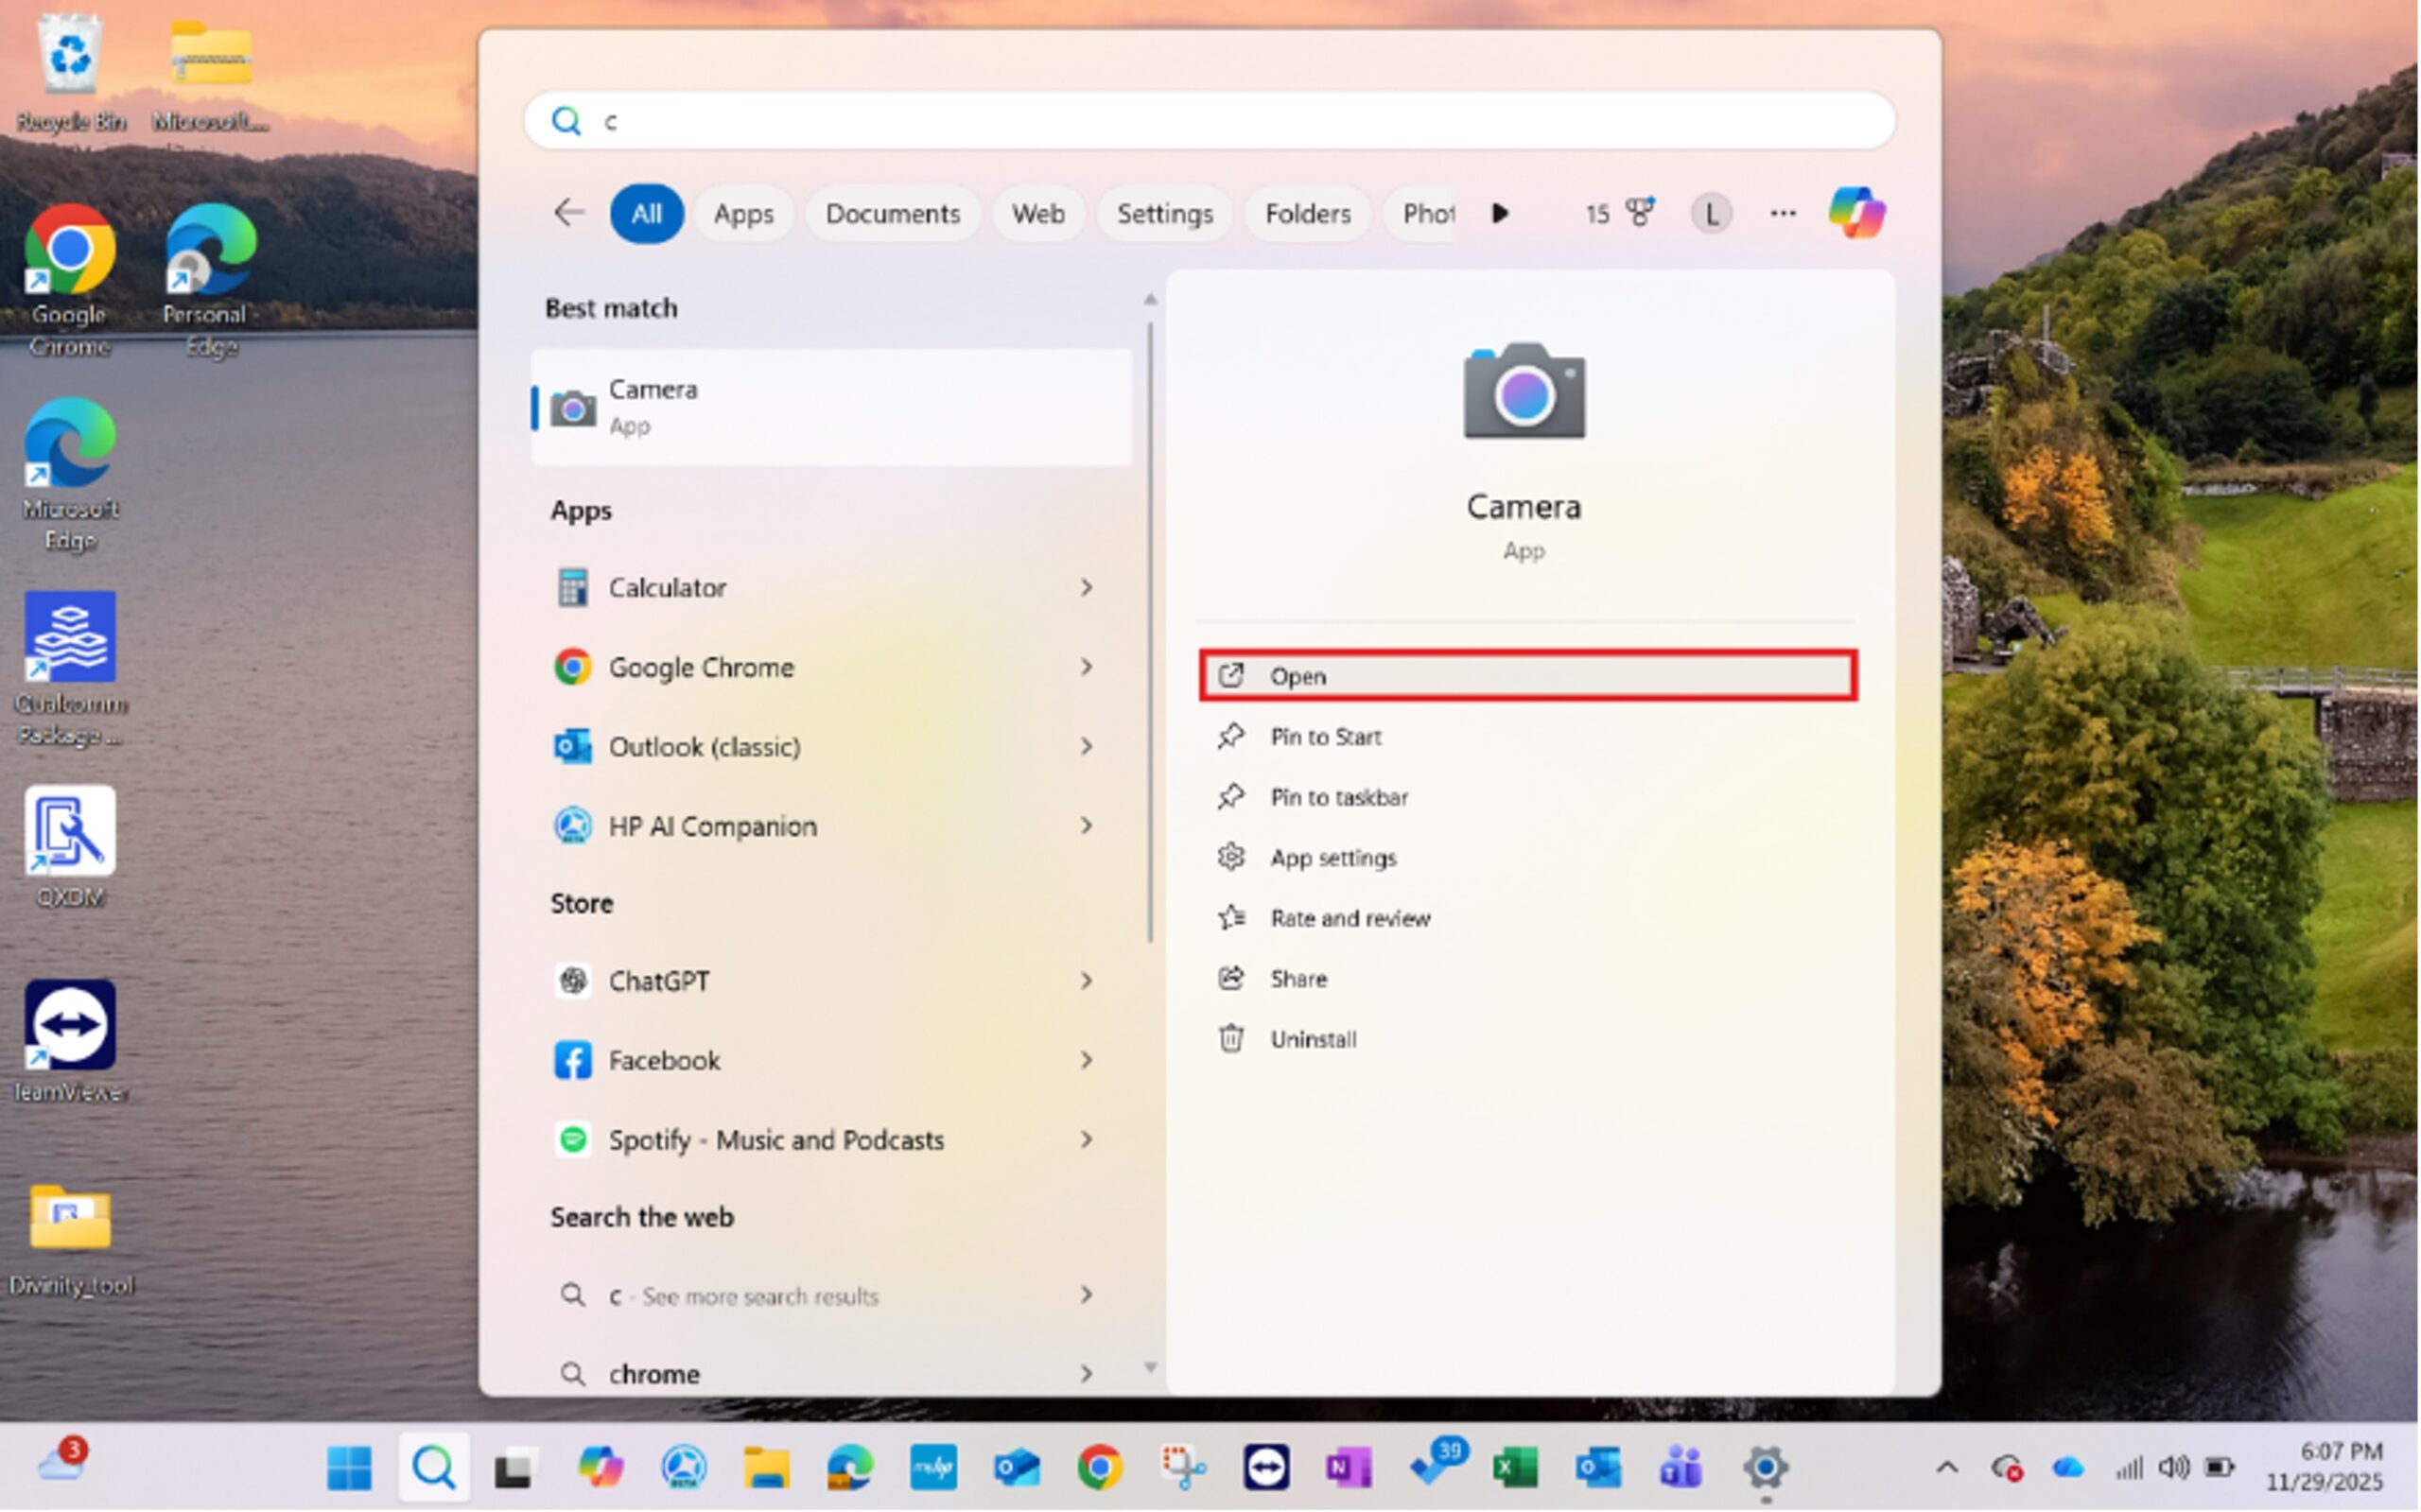
3. Open the Camera app by clicking on the start menu and search for “Camera”.
4. Put the Camera into Barcode mode, if required in your version of Windows.
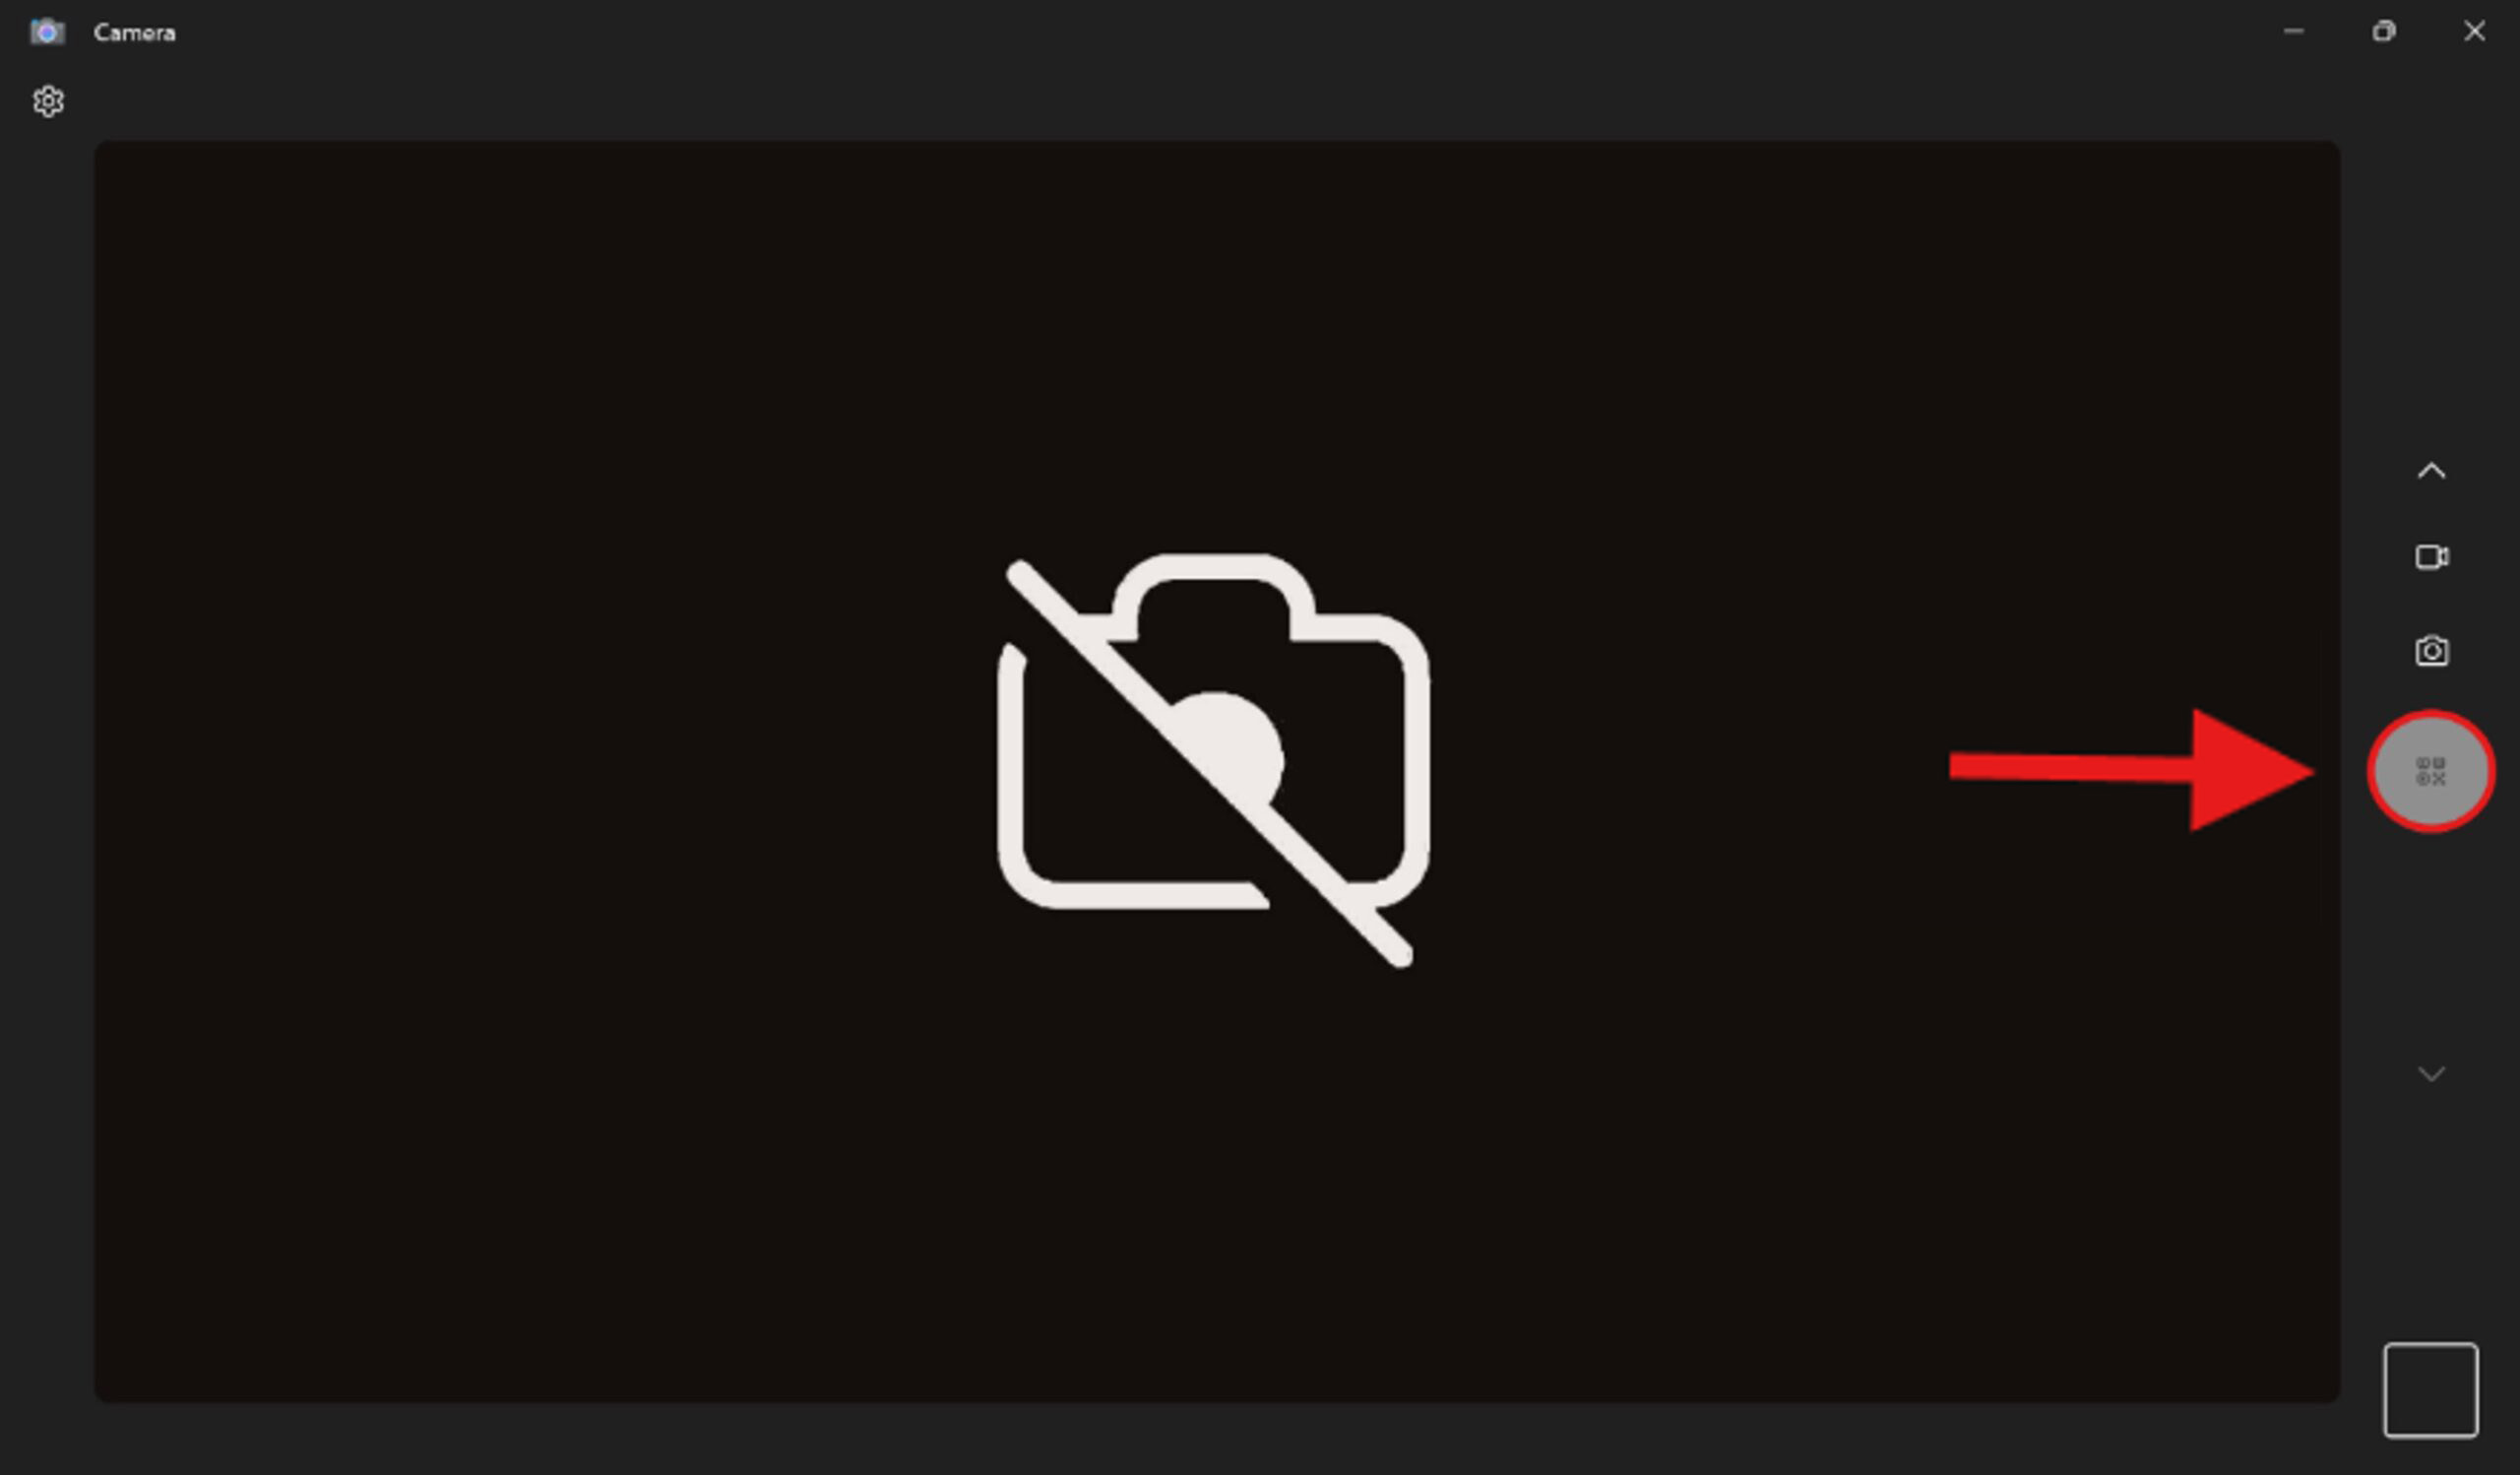
5. Hold the QR code in front of your camera. Ensure it is well lit and clearly visible. Depending on your Windows version and camera drivers, your Camera app may automatically detect the QR code and show a clickable link. Click the link, if applicable.

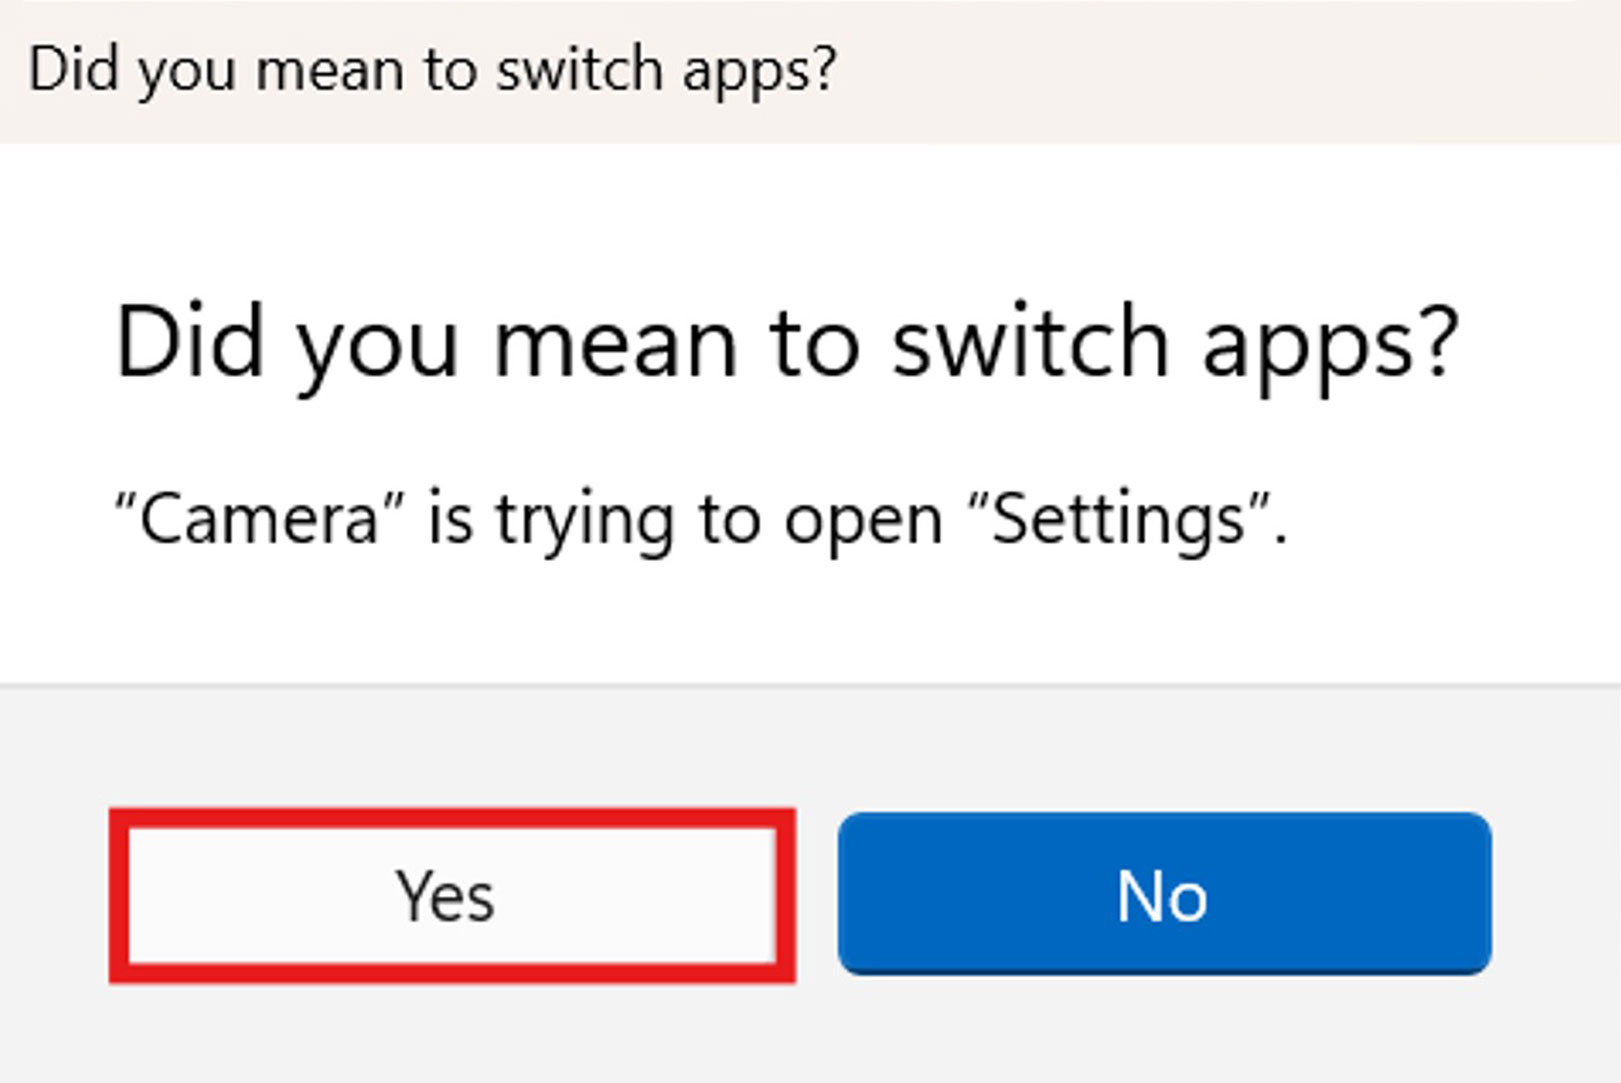
6. You will be asked if you want switch apps. Click “Yes”.
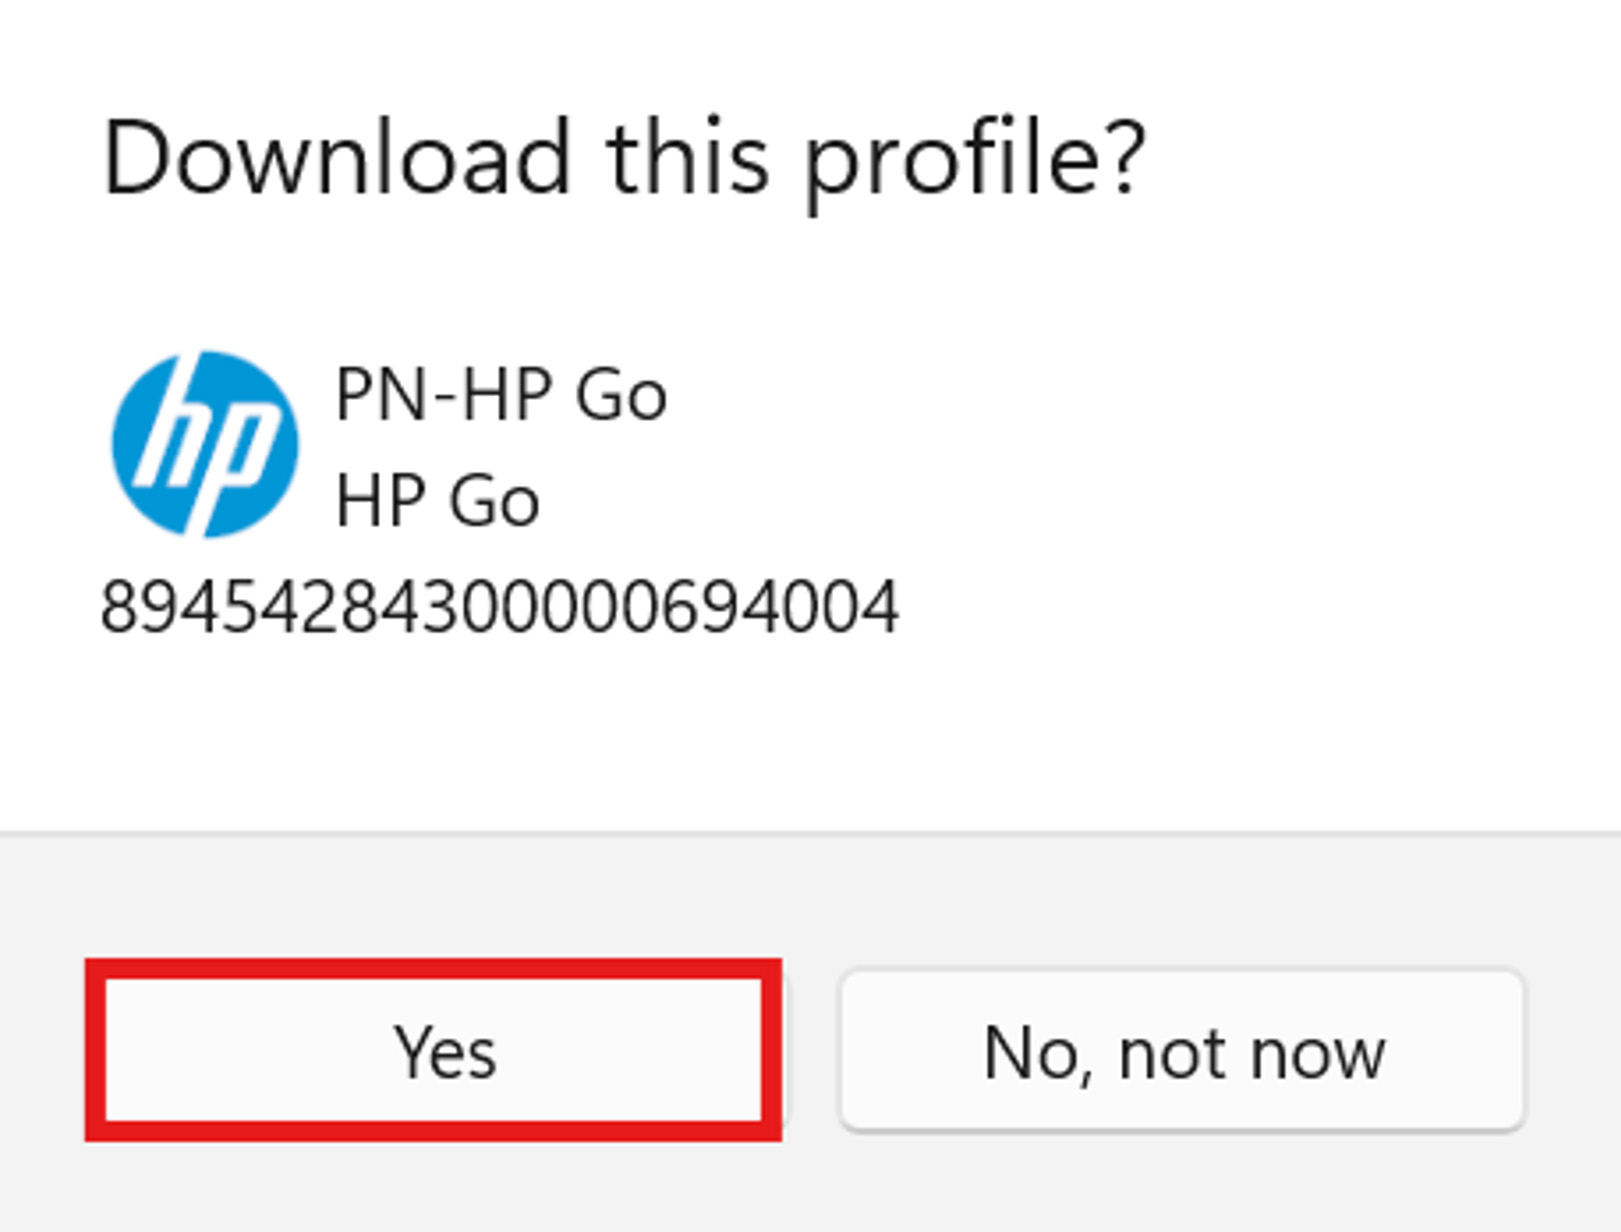
7. Windows cellular settings will open and ask you if you would like to download the profile. Click “Yes” to start the download.
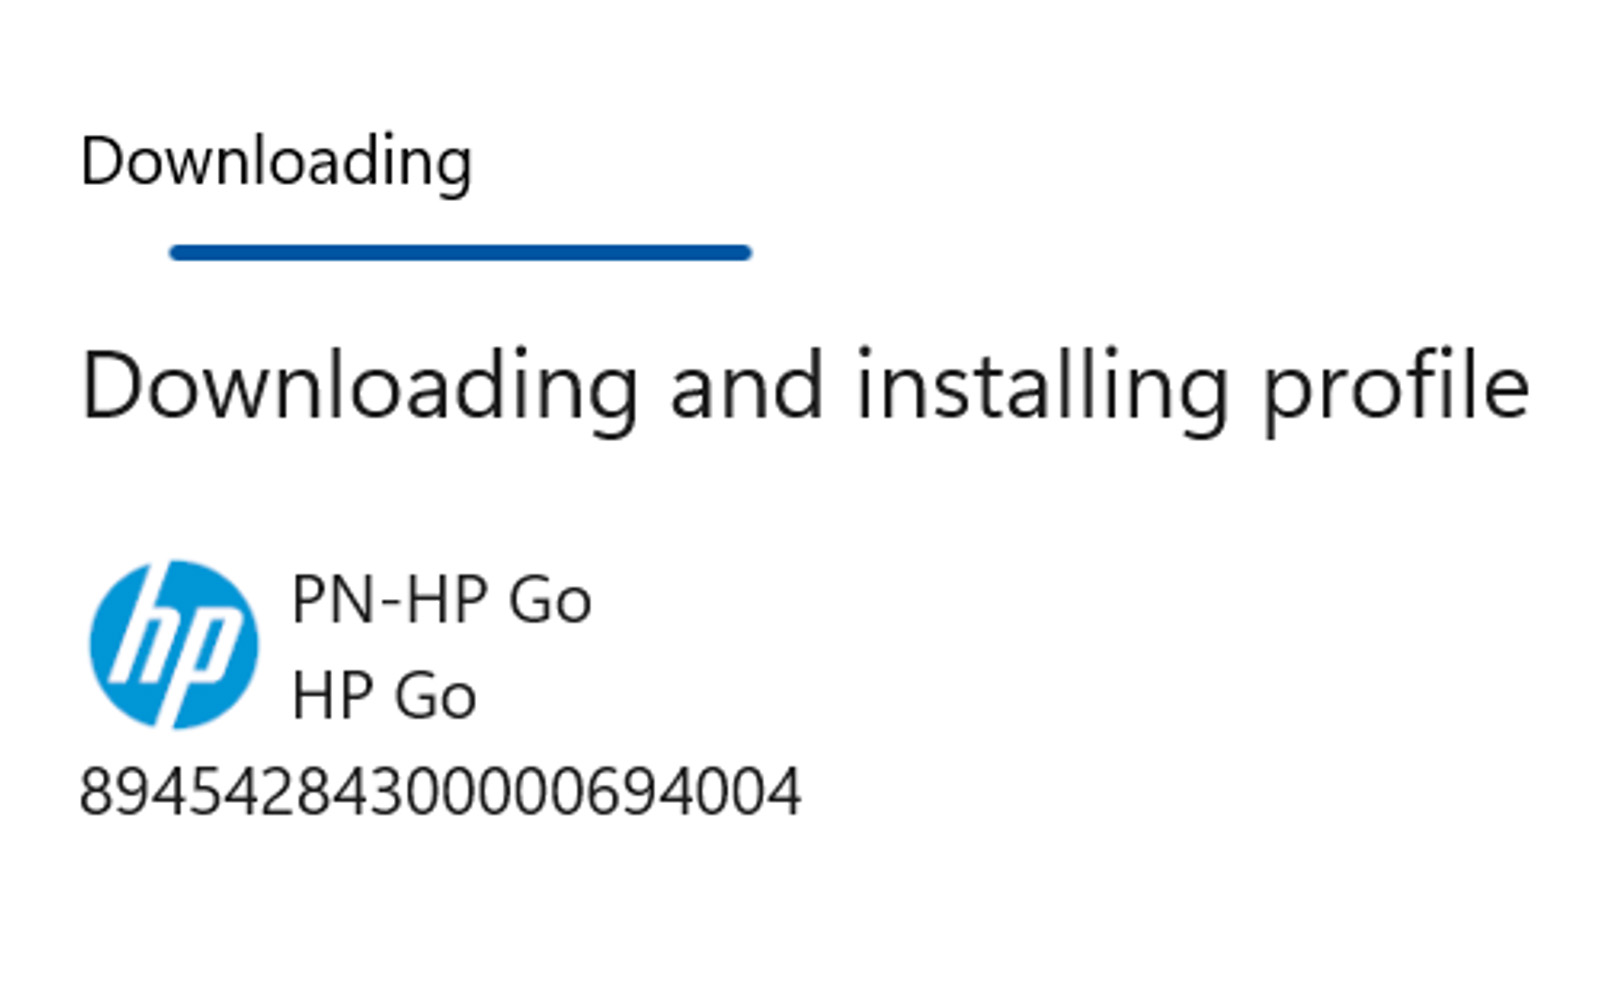
8. The profile will be downloaded and installed.
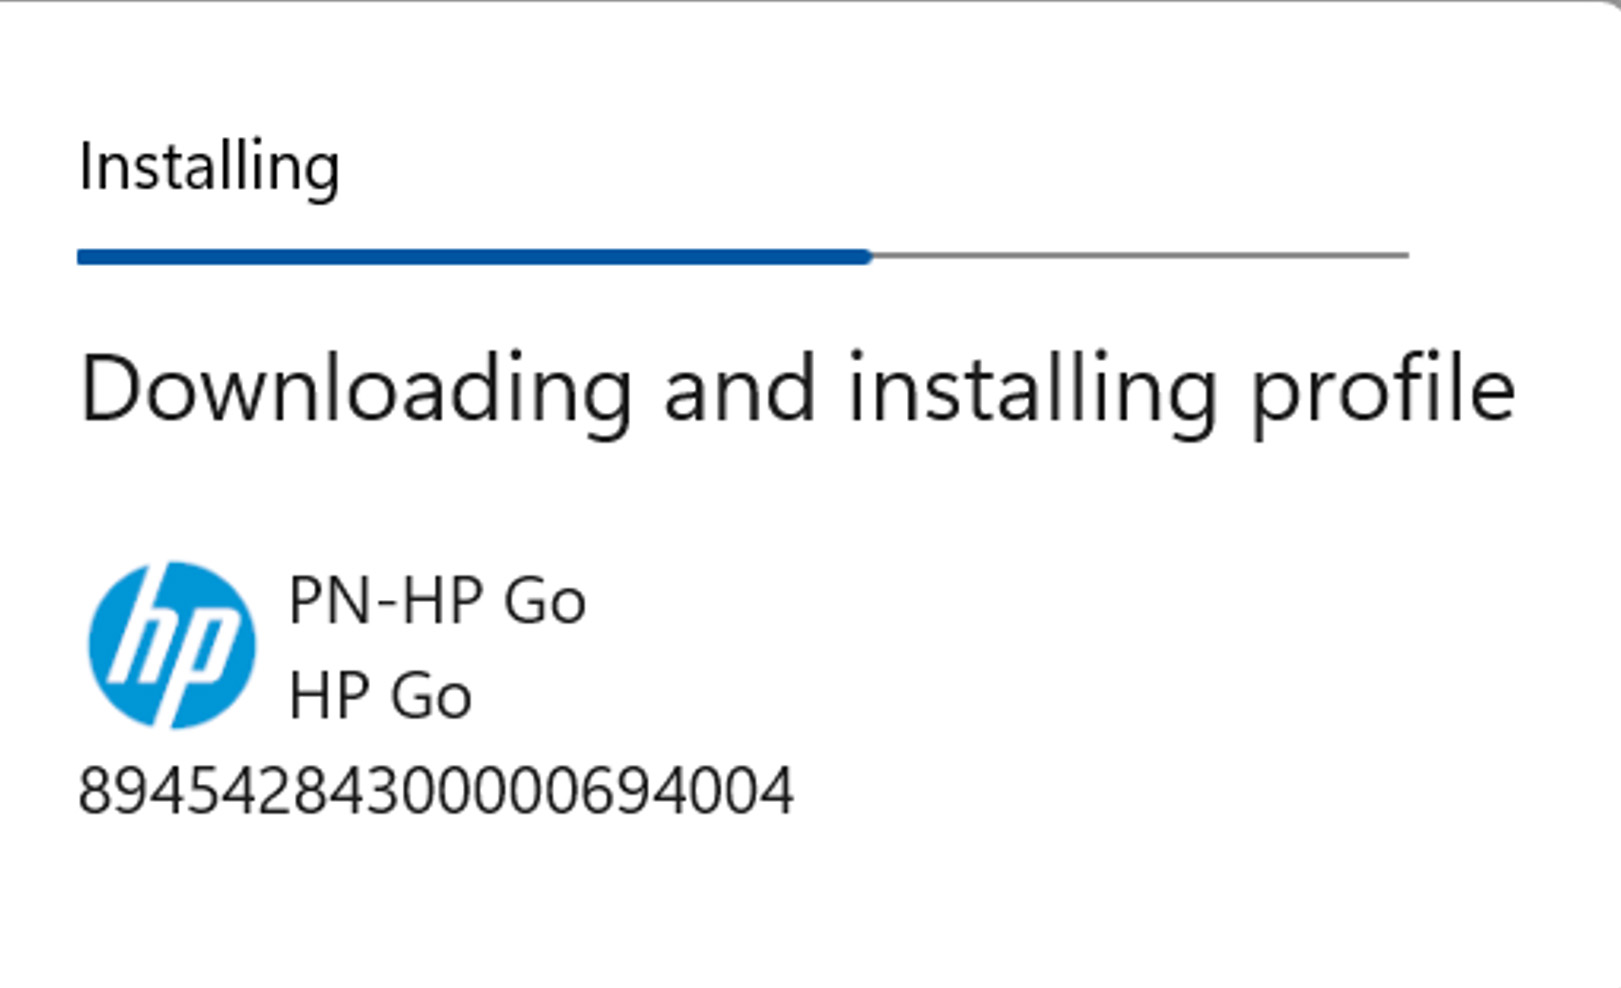
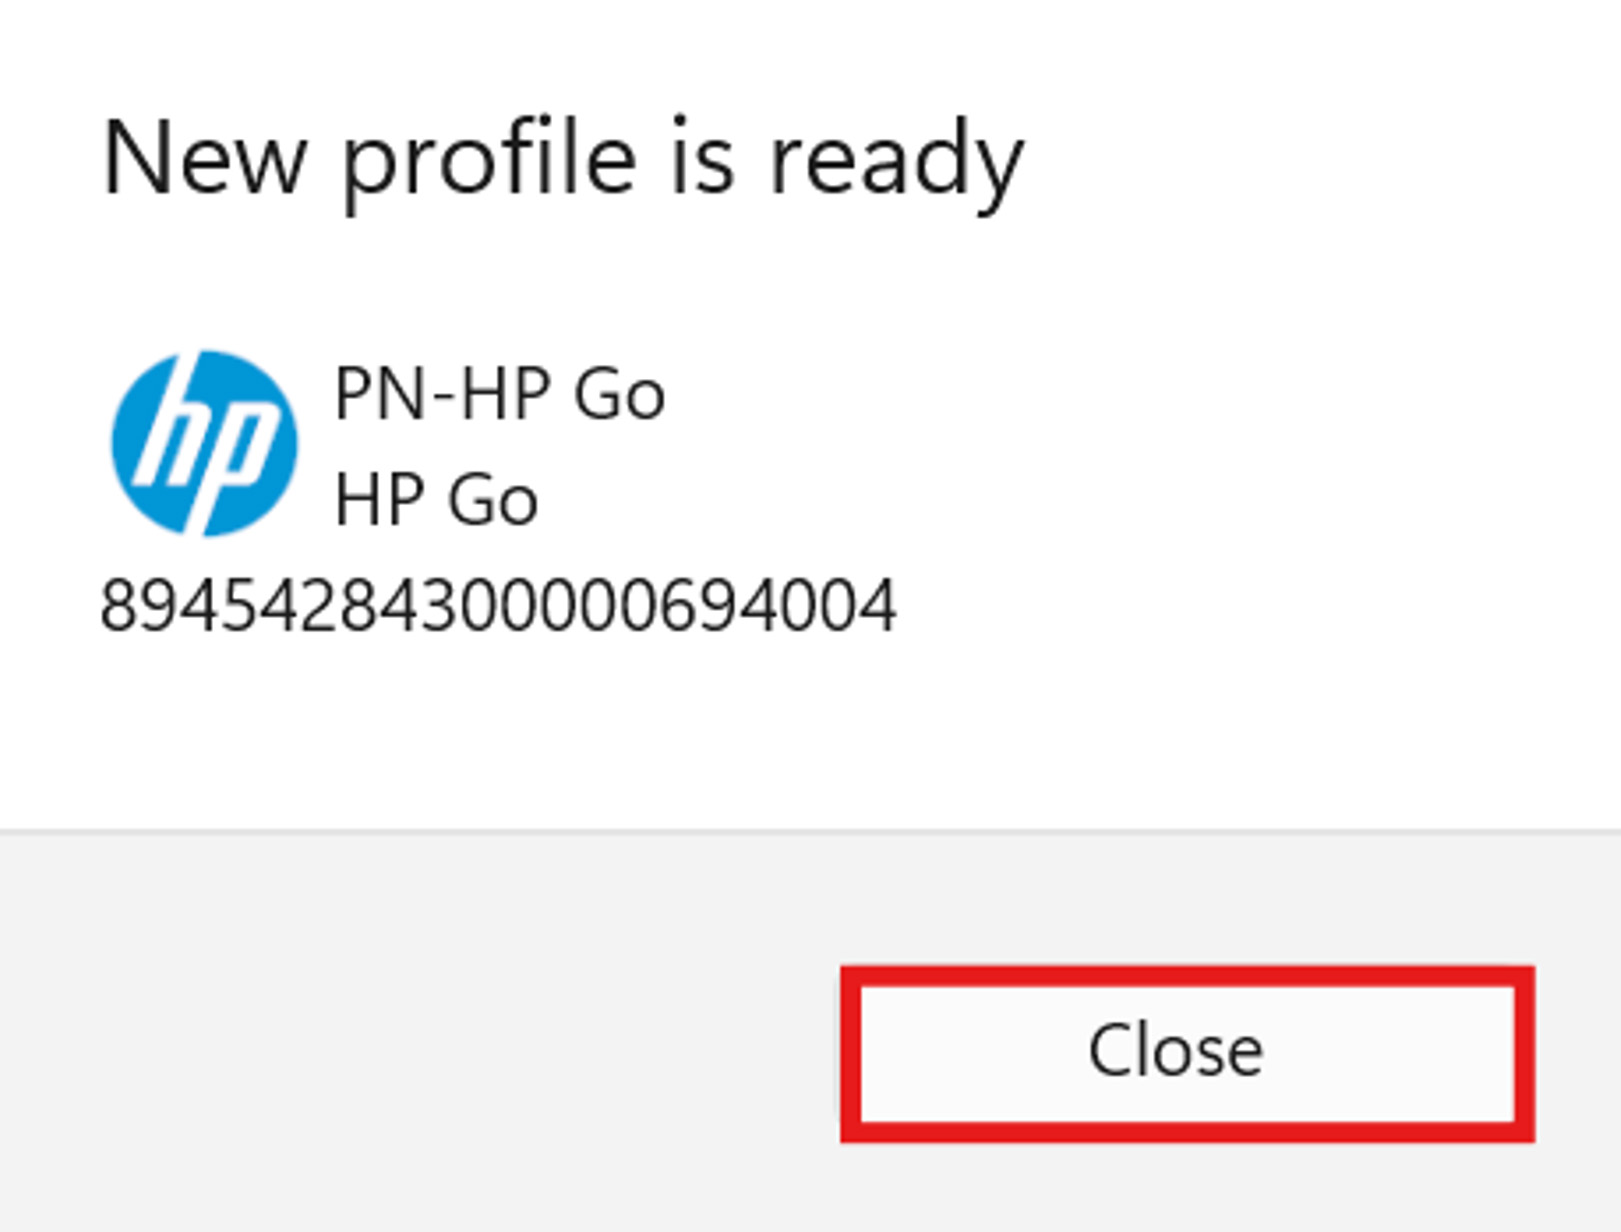
9. Your profile will be ready once the download is completed.
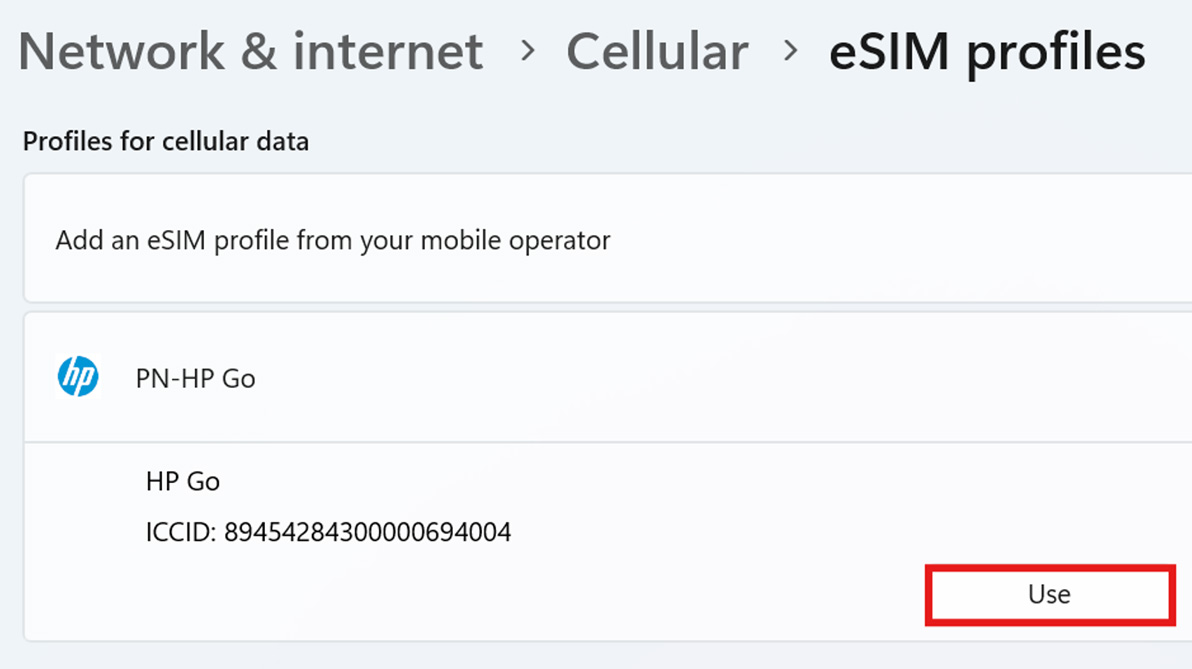
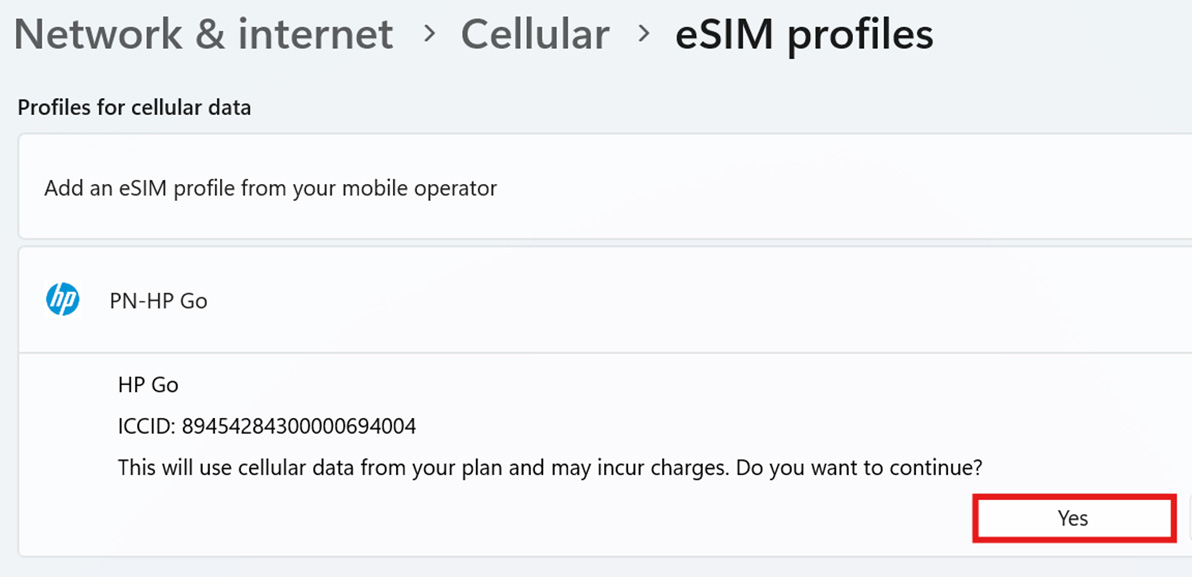
10. Click “Use” and then “Yes”.
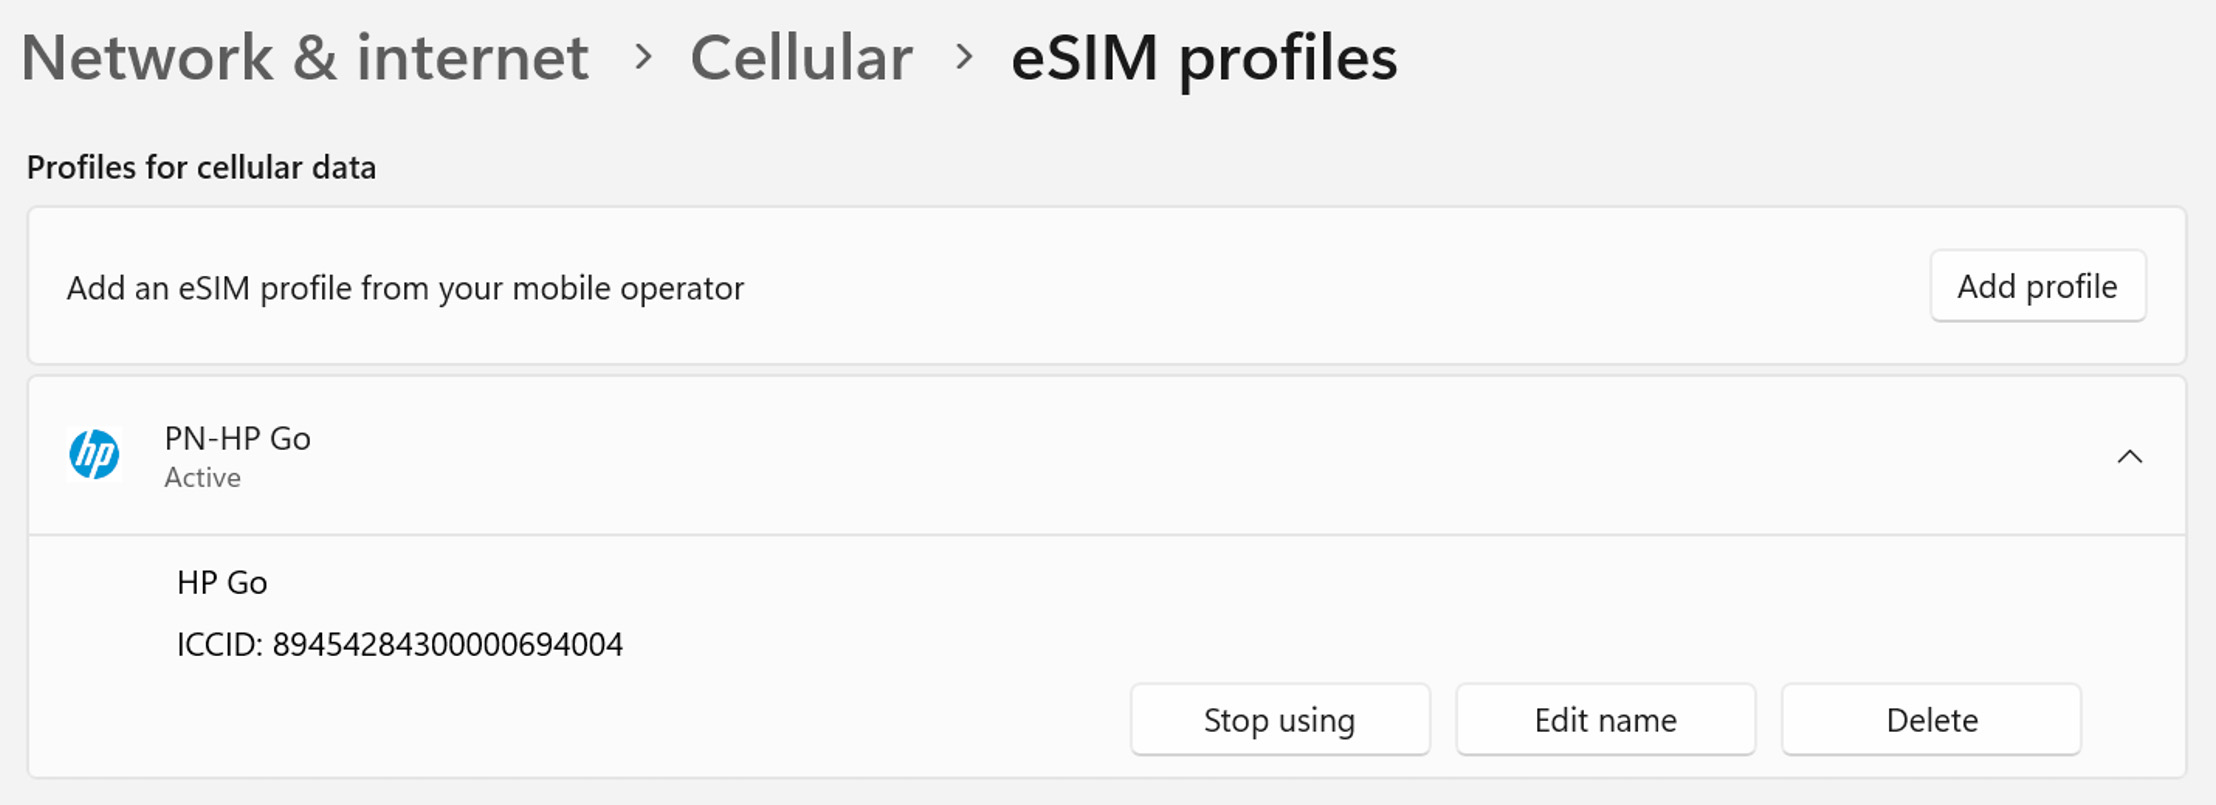
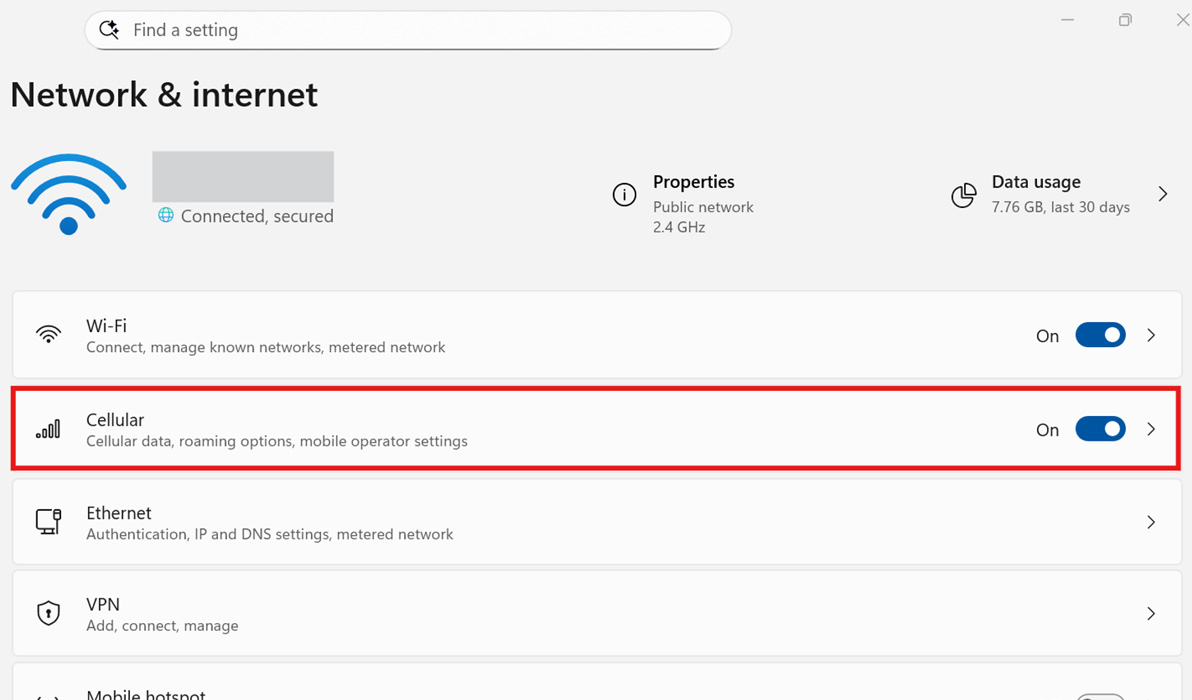
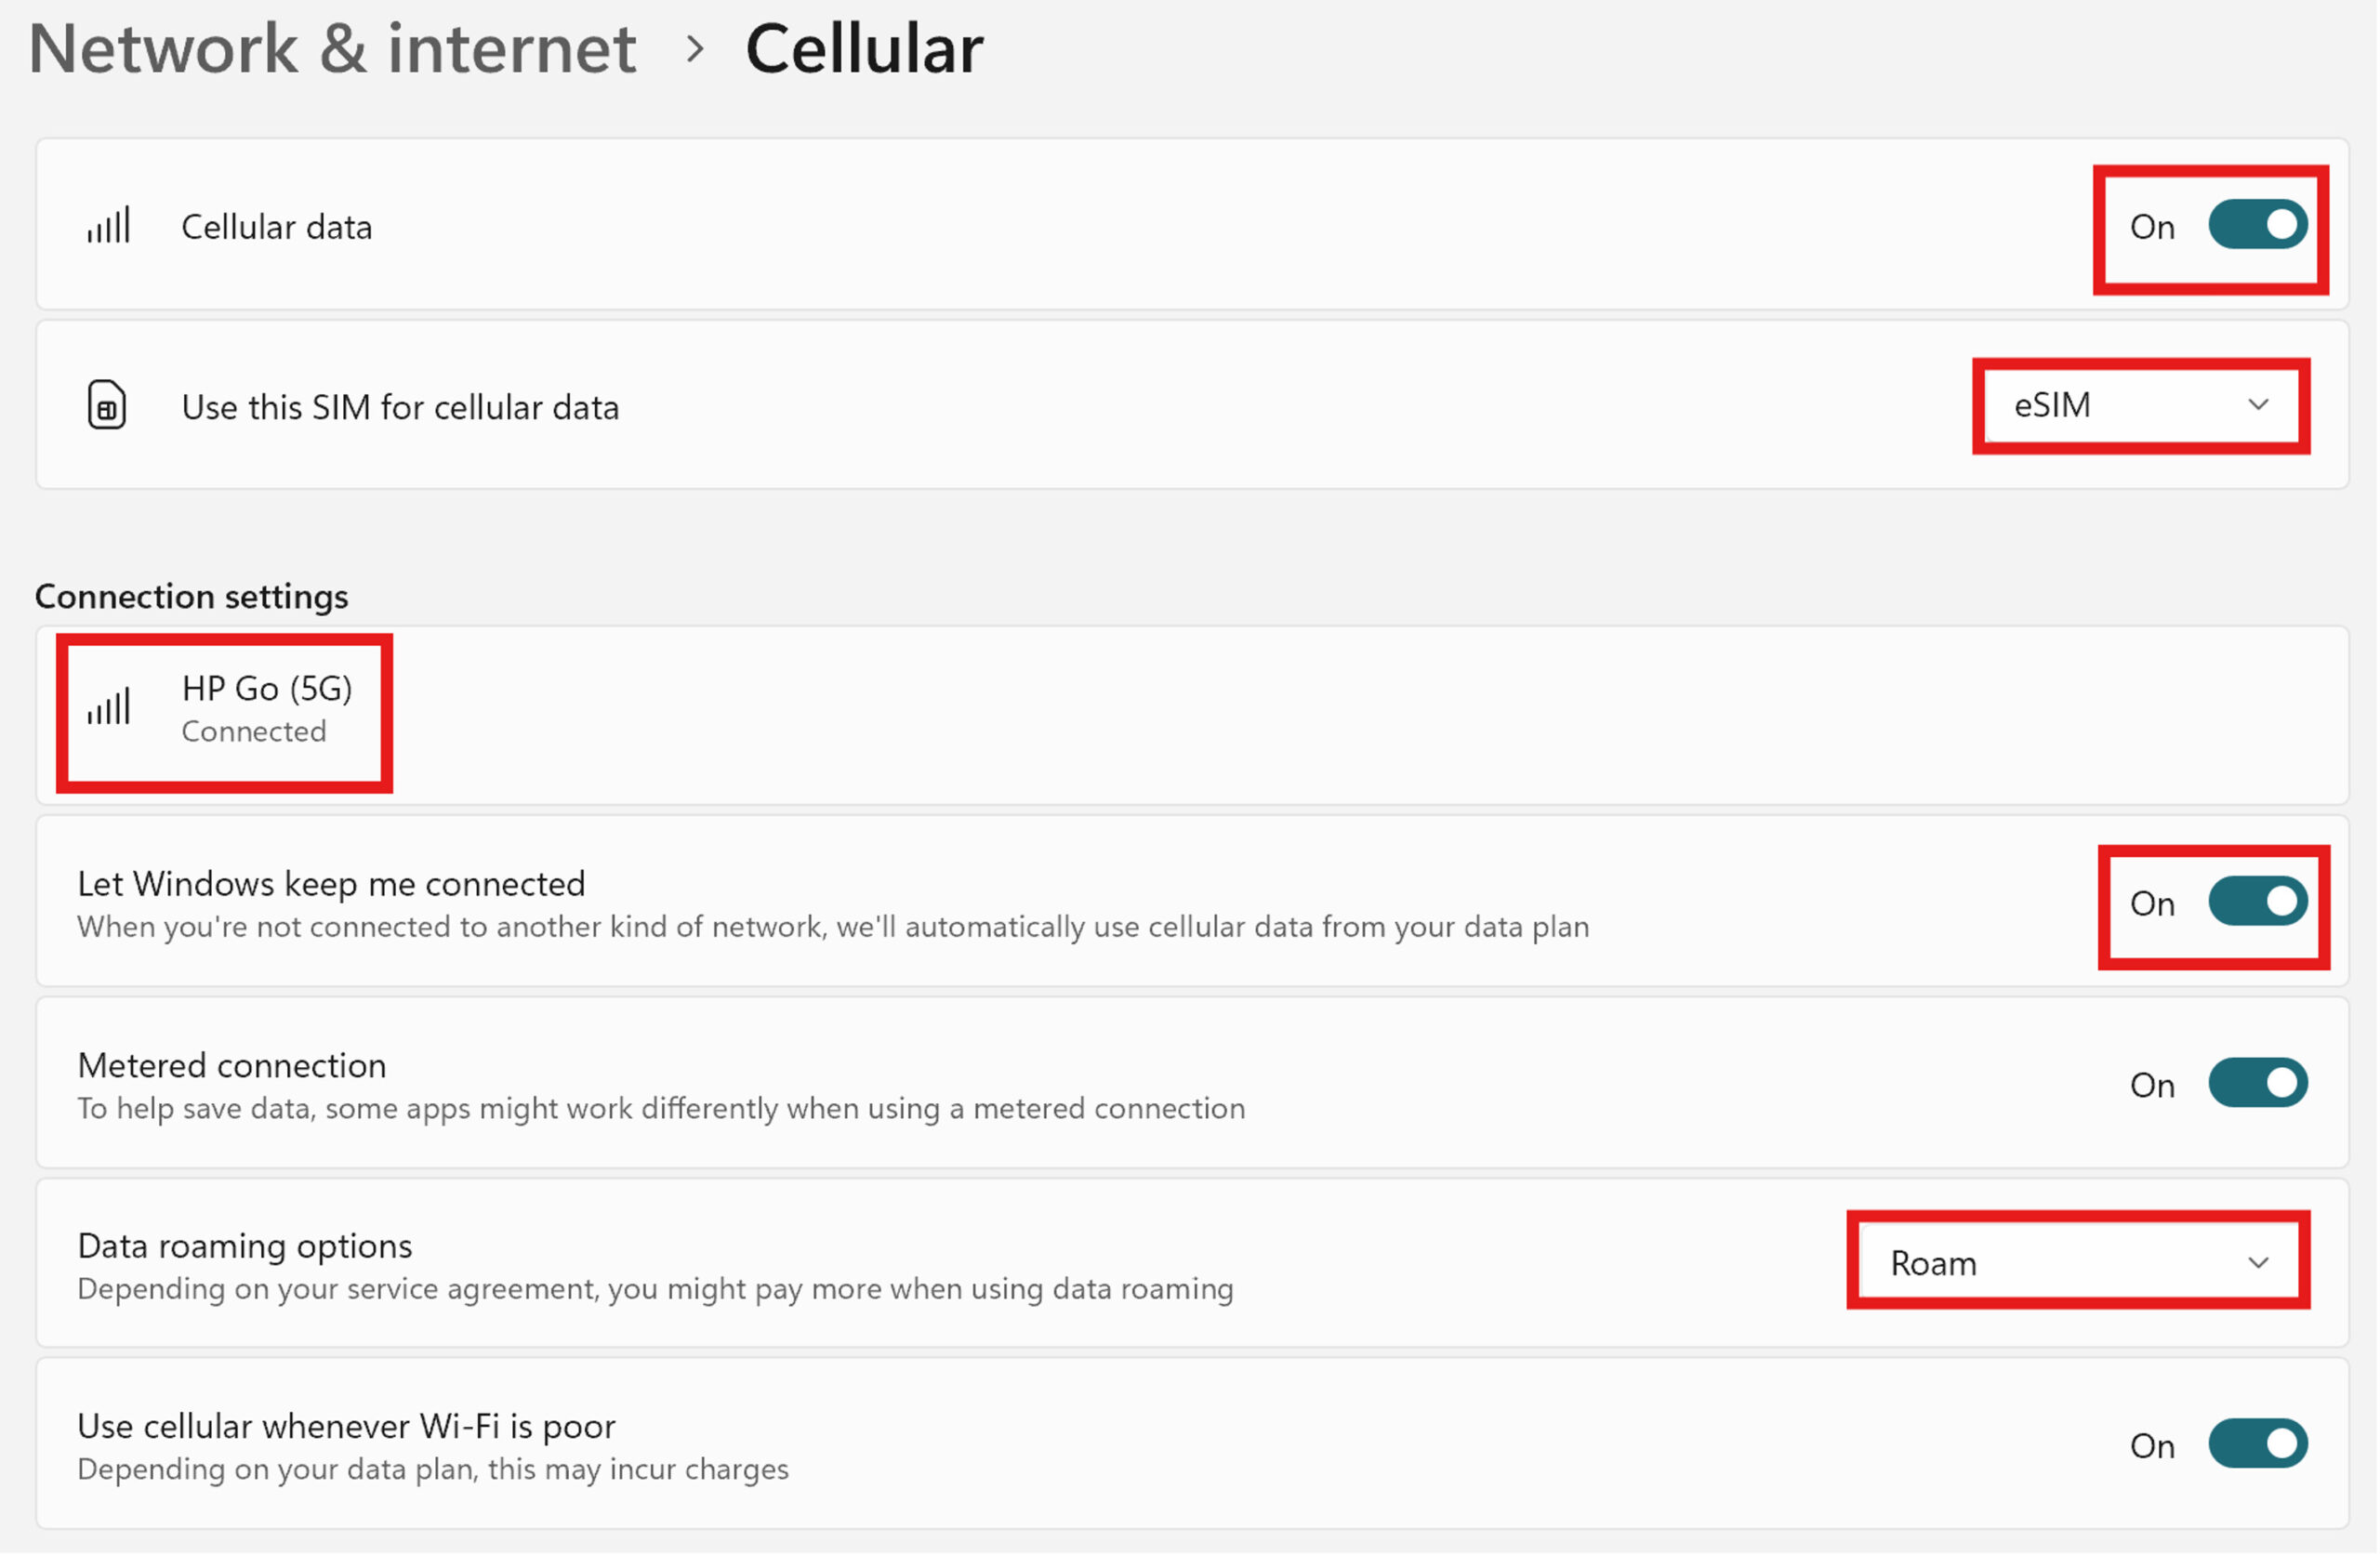
11. Ensure your cellular settings are set appropriately.
- Cellular data is “On”.
- Use this SIM for cellular data: “eSIM”.
- Connect to the HP Go network.
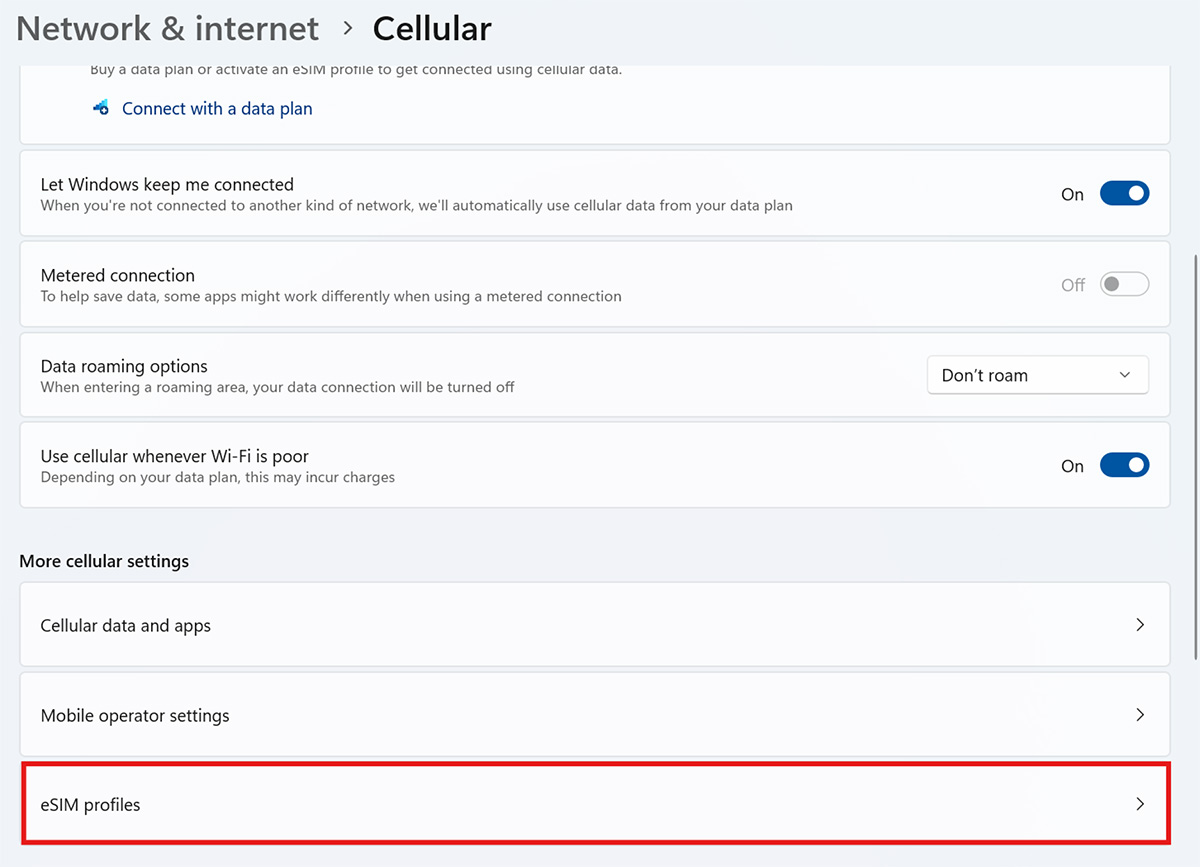
- Ensure “Let Windows keep me connected” is toggled to “On”.
- Enable roaming if you plan to use cellular services while traveling.
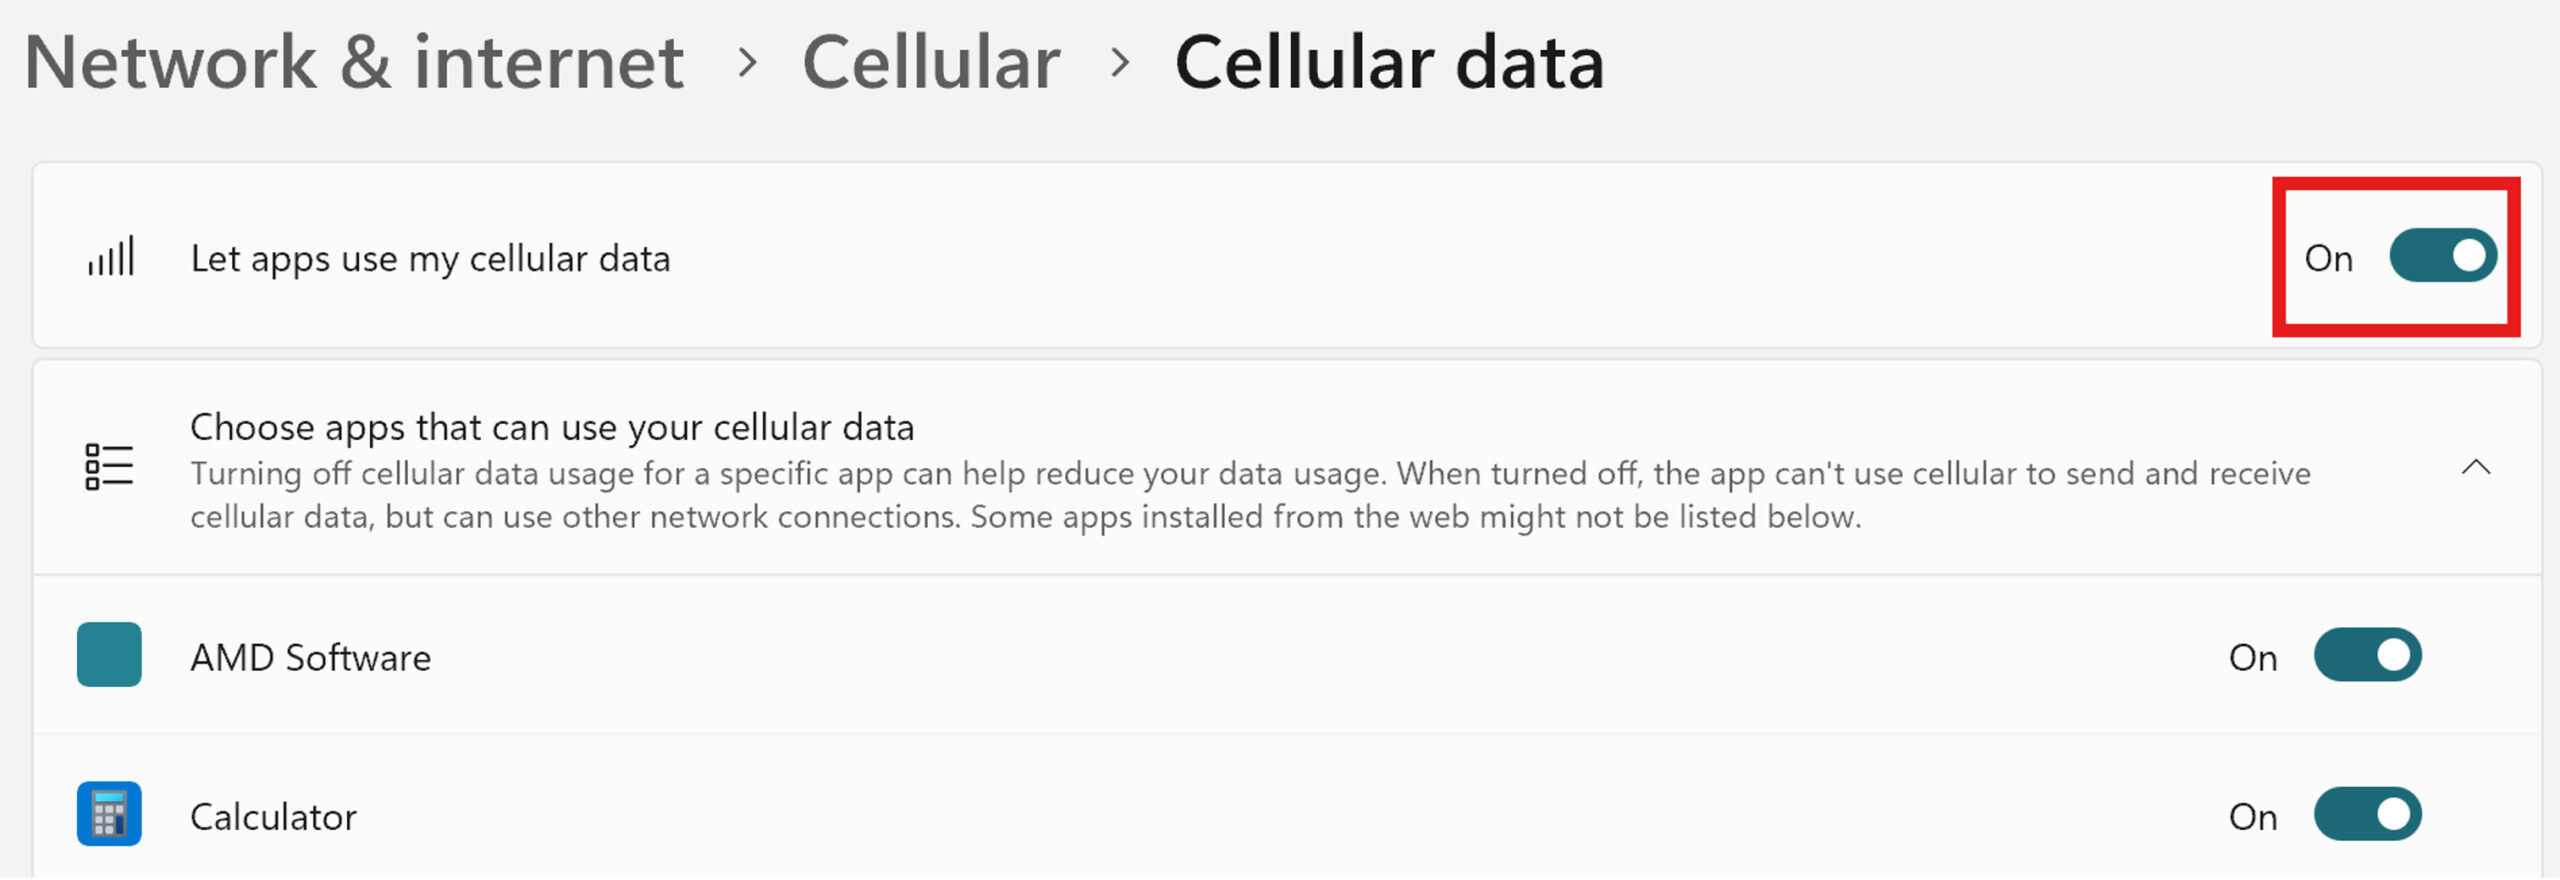
- Toggle “Let apps use my cellular data” to “On” to ensure all applications have necessary access to data.
12. Once you have completed these steps, you can manage the device in the HP Go Management Console. Remember to activate the profile in the console!
If you require further assistance, please contact HP Support.